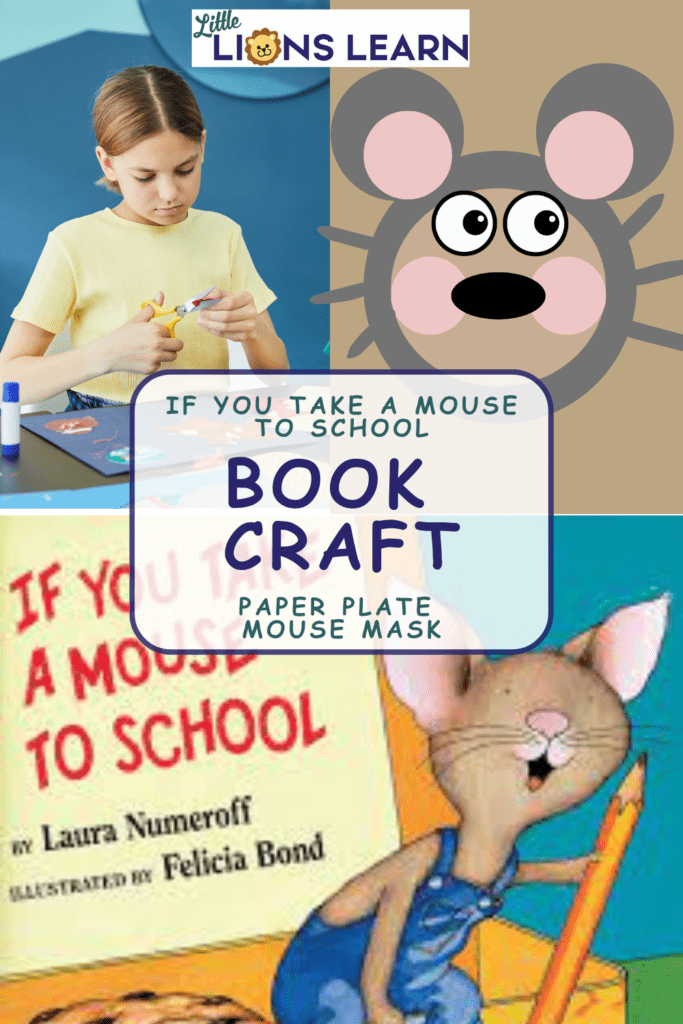
If You Take a Mouse to School Craft
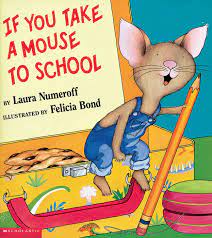
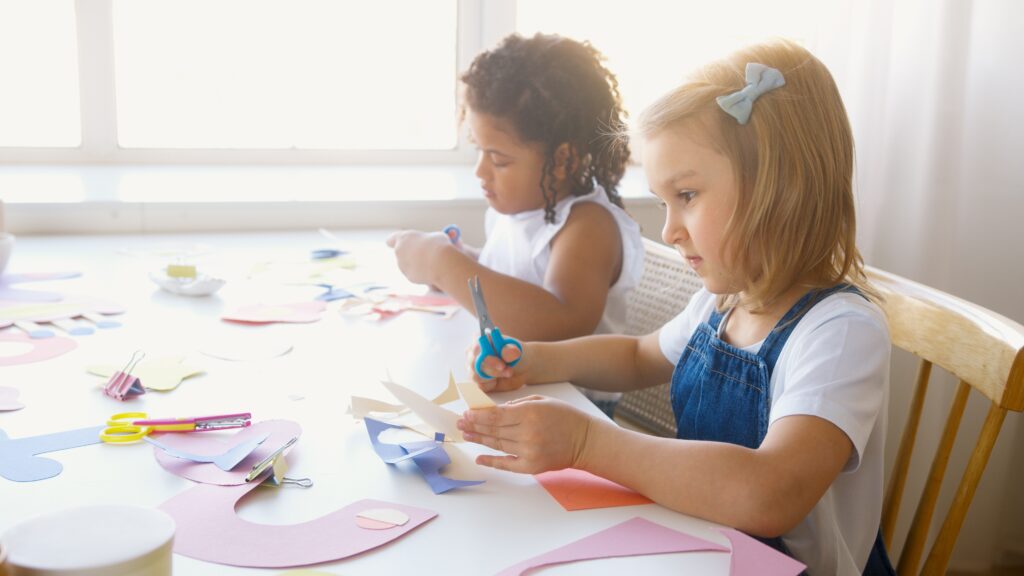
Immerse yourself in the delightful world of “If You Take a Mouse to School” craft by creating a playful mouse paper plate mask! This craft project will allow children to bring the mischievous little mouse to life and spark their imagination. So, grab some simple supplies, and let’s get started on this fun-filled adventure!
Materials Needed:
- Paper plate
- Construction paper (gray, pink, and black)
- Scissors
- Glue or tape
- Markers or colored pencils
- Popsicle stick or wooden dowel
- Optional: Googly eyes, small pom-poms, or other decorative items
If You Take a Mouse to School Craft Instructions:
Step 1: Prep the Paper Plate Take a plain paper plate and cut out the center portion, leaving only the outer rim. In other words, this will form the base of your mouse mask.
Step 2: Shape the Mouse Ears Using gray construction paper, cut out two large mouse ear shapes. These should be slightly curved at the top. Then, attach them to the back of the paper plate rim using glue or tape, ensuring that the ears are securely attached.
Step 3: Add Facial Features Cut out two small circles from pink construction paper for the mouse’s rosy cheeks. After that, glue or tape them to the front of the paper plate, positioning them towards the bottom. Next, cut out a small black oval for the mouse’s nose and attach it between the cheeks.
Step 4: Draw Eyes and Whiskers Use markers or colored pencils to draw expressive eyes on the mask. Alternatively, you can glue on googly eyes or small pom-poms for a playful touch. Then, draw several short lines on each side of the nose to represent the mouse’s whiskers.
Step 5: Attach a Handle by taking a popsicle stick or wooden dowel and attaching it to the bottom of the paper plate mask using glue or tape. Therefore, this will serve as a handle, allowing children to hold and play with their mouse masks.
Step 6: Personalize and Decorate Encourage children to let their creativity shine by adding personal touches to their mouse masks. They can use markers, colored pencils, or additional construction paper to add patterns, designs, or even clothing to the mouse’s face.
Step 7: Let the Mouse Adventure Begin! Once the mask is dry and all decorations are complete, it’s time to put on the mouse mask and let the imaginative play begin! Children can act out scenes from the book, create their own mouse adventures, or even organize an “If You Give a Mouse a Cookie” themed play with friends and family.
Conclusion:
A mouse paper plate mask inspired by the “If You Take a Mouse to School” craft is a fantastic way to engage children’s imaginations and bring the beloved story to life. This simple and enjoyable activity allows children to step into the shoes of the curious little mouse and embark on their own exciting adventures. So gather your supplies, put on your masks, and let the storytelling and imaginative play unfold!
Like this craft idea? Click here for more books with craft ideas.